Sooner or later while expanding your smart home capabilities around Home Assistant you might consider that custom touch screens in different places around the home may be useful, running just the Home Assistant interface in a “kiosk mode” type setup.
When undertaking a new thing like this it leads to late nights trawling the web looking at different hardware options and what you might install to make it all work. Also you want it to be easy, right?
We set out this week to work out how to make this work cheaply and easily. Here is what we did!
Disclaimer: While this guide probably works for a lot of generic touch devices it probably does not work with all of them. So if you buy something and it does not work don’t come knocking…
The Hardware
This section is not important if you came here looking to setup the software with your own hardware so feel free to skip down!
We needed a platform to build this on. Fortunately we happen to have a spare Raspberry Pi 4B available so this seems to be a sensible place to start. We would also like a case and a touch screen of a reasonable quality that is cheap. Not too much to ask?
We did not look for for these things. Waveshare have been around a while and we have been looking at their products and wondering about the quality. Here is a 4.3 inch touch screen in a case. They sell direct where this little screen is $42.99, but also have resellers everywhere.
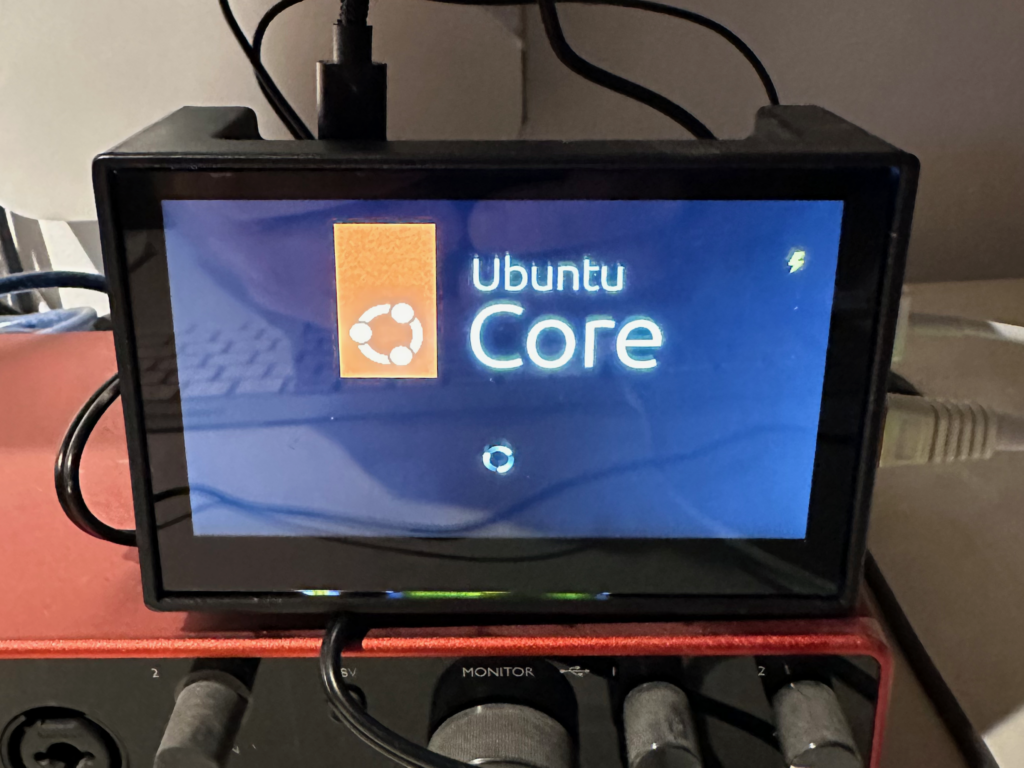
The screen arrived quickly from a local reseller, no instructions but easy to work out and appears to be of pretty good quality for the price, and also includes a fan which we have opted to not connect for being annoying.
The Software
OK, there is a small gotcha, this guide is for Ubuntu Core 22 so you must have a platform that supports this. Variants of this guide may work for other operating systems with some effort. We tried a similar but different process with Raspbian but the on screen keyboard did not work.
You can find Ubuntu Core 22 for Raspberry Pi 4B here part way down the page and for many other platforms on the Ubuntu website. Follow the instructions there to do the setup for your device. If you are new to Ubuntu Core, you will first need an Ubuntu SSO account. Get one here!
Once Ubuntu is setup ssh it from your main computer and run the following:
sudo snap install ubuntu-frame
sudo snap install ubuntu-frame-osk
sudo snap install wpe-webkit-mir-kiosk
sudo snap set ubuntu-frame daemon=true
sudo snap set ubuntu-frame-osk theme=dark
sudo snap set wpe-webkit-mir-kiosk url=http://192.168.22.4:8123  <-- Replace with your HA URL
That’s it. Yep, that’s it.
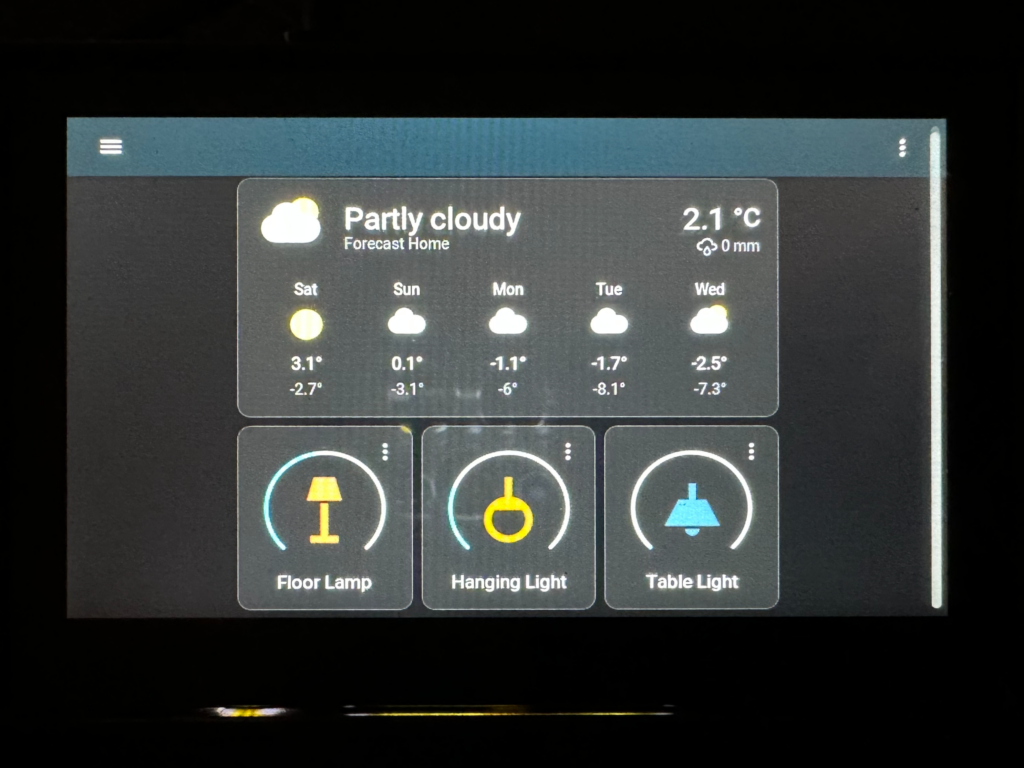
Login to Home Assistant, remembering to check the option to keep you logged in. You should be able to use the touch controls and the on screen keyboard should pop-up when needed and disappear after a short while.
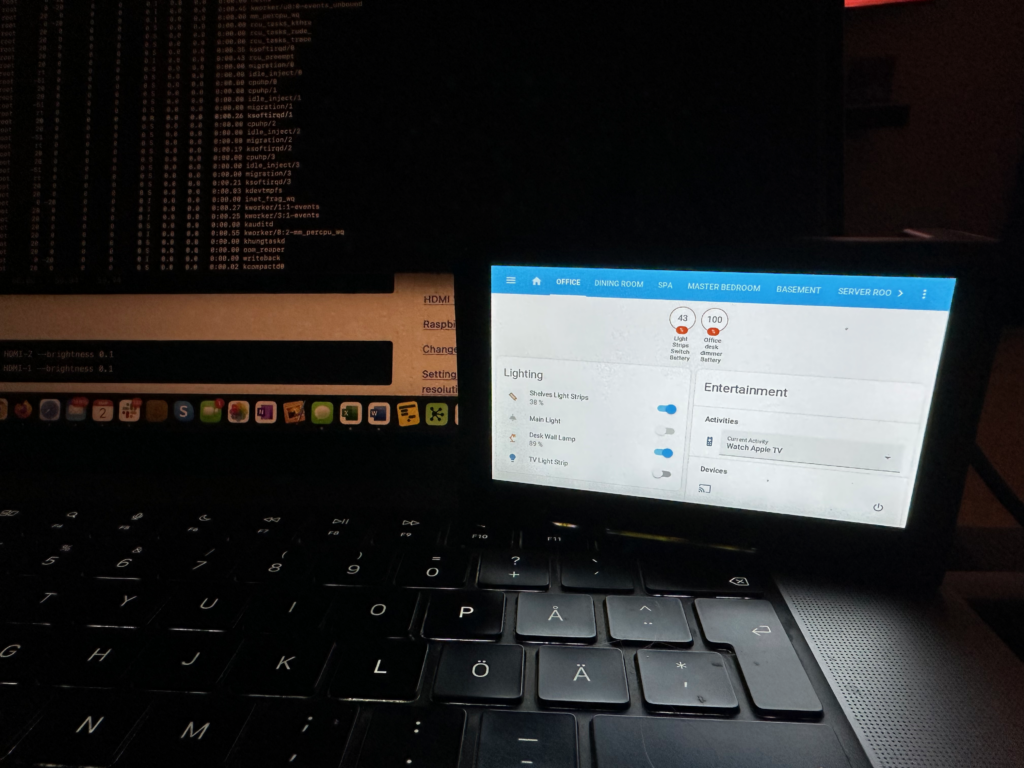
The final step is to start making new dashboards in home assistant with relevant buttons that are easier to use on a device this size. If you are handy with home assistant you will have it up and running pretty quickly!